Mini Hot Cocoa Ornaments
- Rachel Madsen

- Nov 21, 2025
- 2 min read
Hello everyone. Happy Friday and welcome back! Today we're making ornaments! Remember last year I wanted to start a tradition of making ornaments for my husband to pass out at work, instead of the usual cookie exchange most people do?
Well I scoured Pinterest looking for some inspo, and came across these!

I wish I had a link or something to give you, but whatever tutorial was associated with it seems to be gone now. I'll just have to make up my own.

I looked up Hot Cocoa Clipart and it actually took longer than expected for me to find the image I had in my head. I finally stumbled upon this one and thought, it might work 🤷♀️
I printed out one, but it was WAY too big, in my mind I imagined about 6 inches tall. I tried again and got close enough. I cut my template out of just regular printer paper.
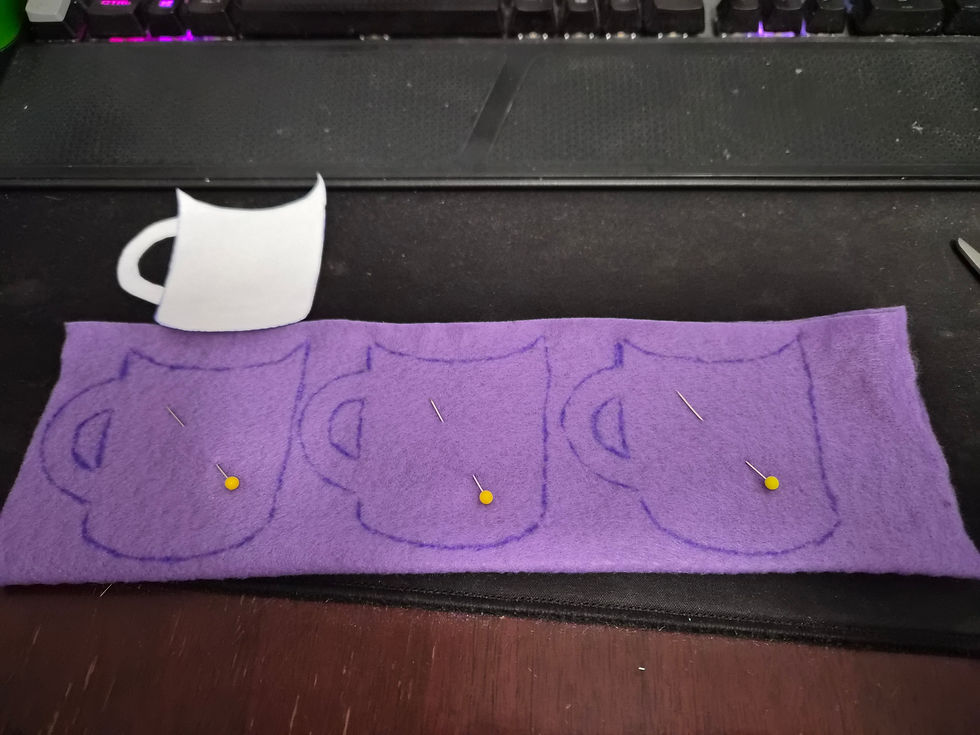
Folding the handle down I traced mug and whipped cream out of white felt.

The felt I purchased from Daiso, I folded my felt in half, traced and cut out as many of this shape as I could. I figured however many I cut out is the number I'll make.

I managed to cut out 40 once I removed all my pins and counted them out.
The next step was to cut off the whipped cream so I had just the mug portion. I purchased 3 rolls of felt from the Dollar Tree. Once again I folded the felt in half and begin cutting. I cut out 80 mugs from felt.

Next I sandwiched the whipped cream between two mugs. I sewed about 1/4 away from the edge. As well as the inside of the handle. I actually started cutting out the inside of the handle before I realized how challenging that was to sew. Its much easier to sew it first then cut out.

Next went to Hobby Lobby where I bought these cute felt stickers to go on my mugs. I thought about cutting out my own little shapes, but decided it was too much work. The stickers just had one teeny glue dot on the back, so I did a nice blanket stitch to better attach it to the mug.

Lastly I needed to add a string or ribbon something to hang it from the tree with. I went back to the Dollar Tree where I got this Bakers Twine. Using this big tufting needle I was able to run the twine through the felt making an ornament.

The finished product.

And that concludes this years Christmas ornaments! Do you have any crafting traditions? Like I said this is a new one I just started. Its fun for me, but in case you couldn't tell, I love sewing lol.
Happy Fashion Friday, see you next week!

Comments