Gone Fishing
- Rachel Madsen

- Aug 22, 2025
- 2 min read
Happy Birthday America!!! Sorry for the delay, honestly I'm just enjoying this being a mother thing so much! Which means as much as I like posting, it does tend to take a back seat.
I'm really working on using up my fabric scraps because I have such a limited working space at the moment.
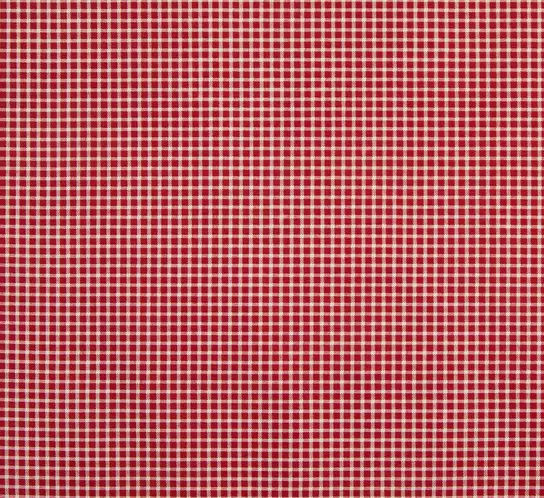
Which brings us to this lovely bit of gingham leftover from my Easter dress post. Originally I used it to make some baby bloomers to go under her Easter dress. With a little under a yard leftover I had just enough to make her a 4th of July jumpsuit!

Once again we'll be using Simplicity 8141, this time I'm making view C.
View C:
Initially I hadn't planned to put on the fish, I was finna do a more girly patch. But unfortunately after looking through my horde for a complimentary bias tape, and only finding black, I decided to add the fish back in. I cut it out of black felt and used red thread to embroider the eye and scales.
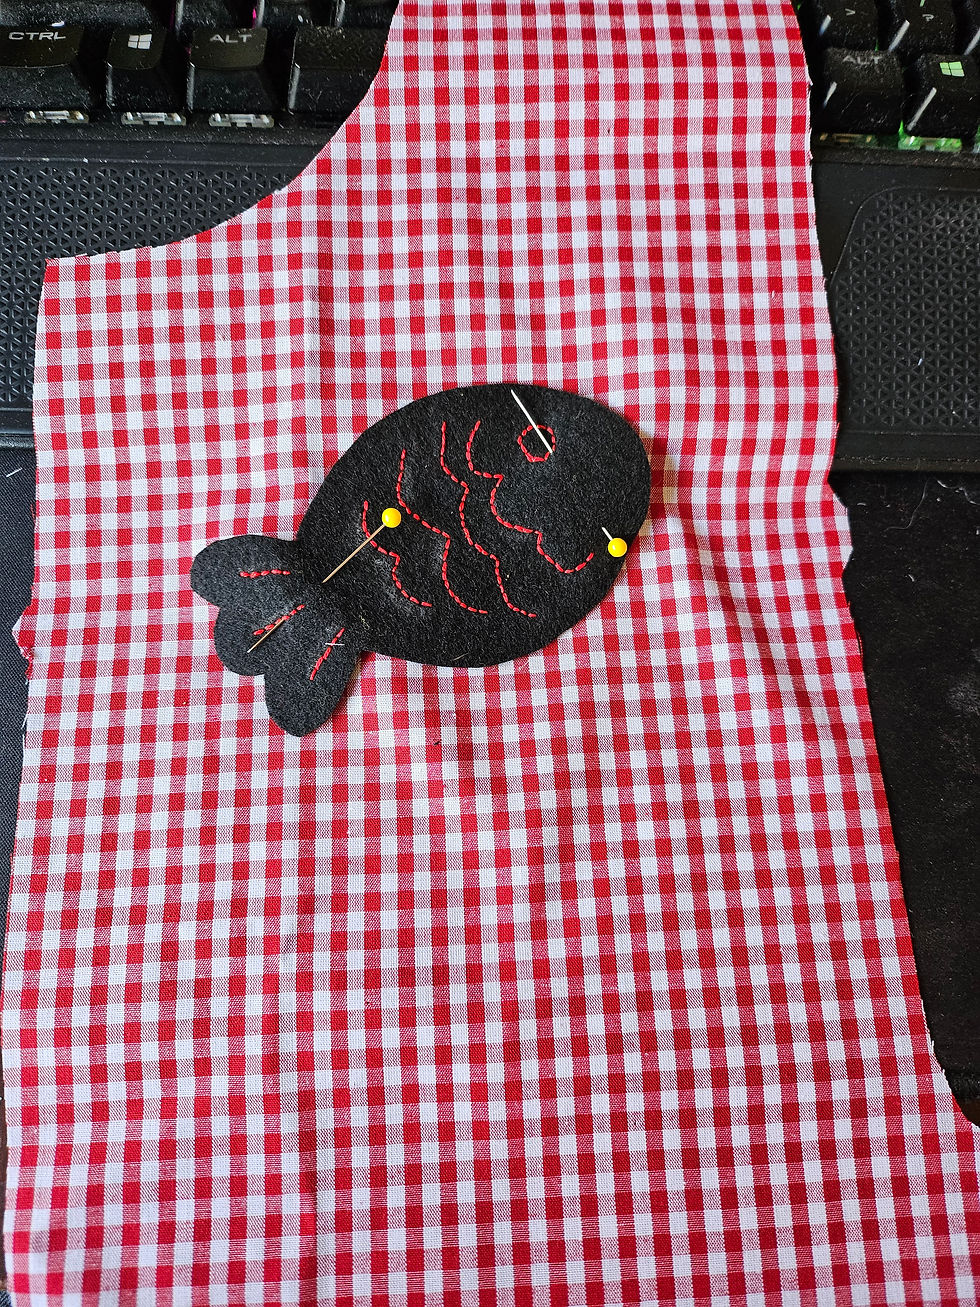
I then pinned it in place and sewed it down. I liked the red embroidery red thread so much I decided to use red thread when stitching my black bias tape.

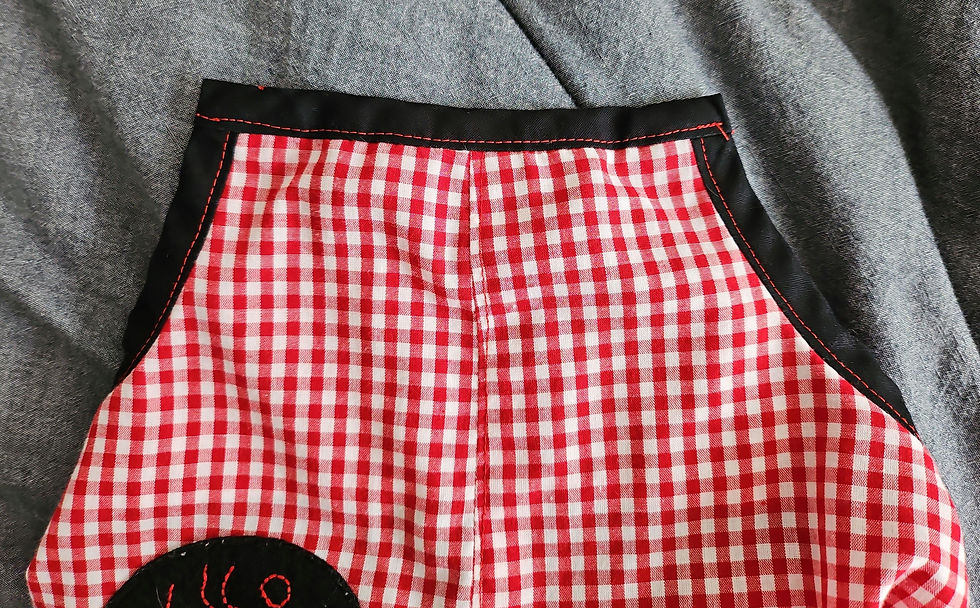
Right side together sew that center seam, add the facing and bias the whole top edge.

On the back right sides together sew the center seam, then roll the top raw edge to make a casing. Run a piece of elastic through sewing down the edges.
Right sides together, sew front to back at the sides seams. Then bias the legholes and crotch.

Wrong sides together bias the raw edges of the straps. Here's where I deviated from the instructions, I sewed the straps to the back of the garment.
I then used those giant snaps on the front of the garment, making it so the straps snap to the front of the garment. I also sewed the giant snaps to the crotch of the garment and here we are!!
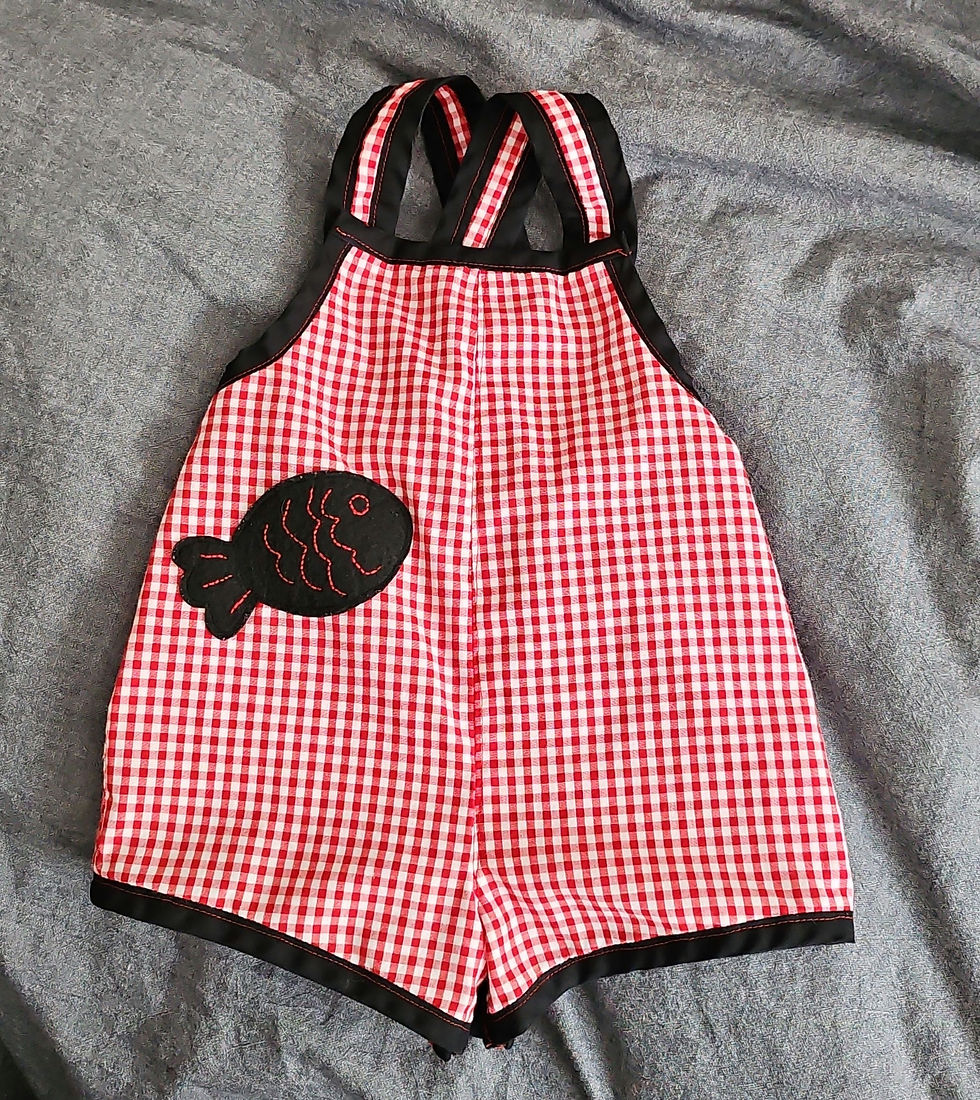

And here's my baby celebrating turning 7 months!
Pattern Review:
I did ditch the tab and snap the straps in. The front vs the back. But both of those were personal preference things. This is a very easy pattern, perfect for beginners in my opinion especially since you need very little fabric, and it's basically 7 pieces making assembly pretty easy. You can always use an iron on applique to personalize it as well. I say this a good pattern for any type of sewer, if you make your own please feel free to share a picture! Happy sewing, see you next week!


Comments